Documentation Index
Fetch the complete documentation index at: https://docs.atomicagi.com/llms.txt
Use this file to discover all available pages before exploring further.
Important: Verify each connection before publishing live content. Invalid credentials can cause silent failures.
Questions this page should answer
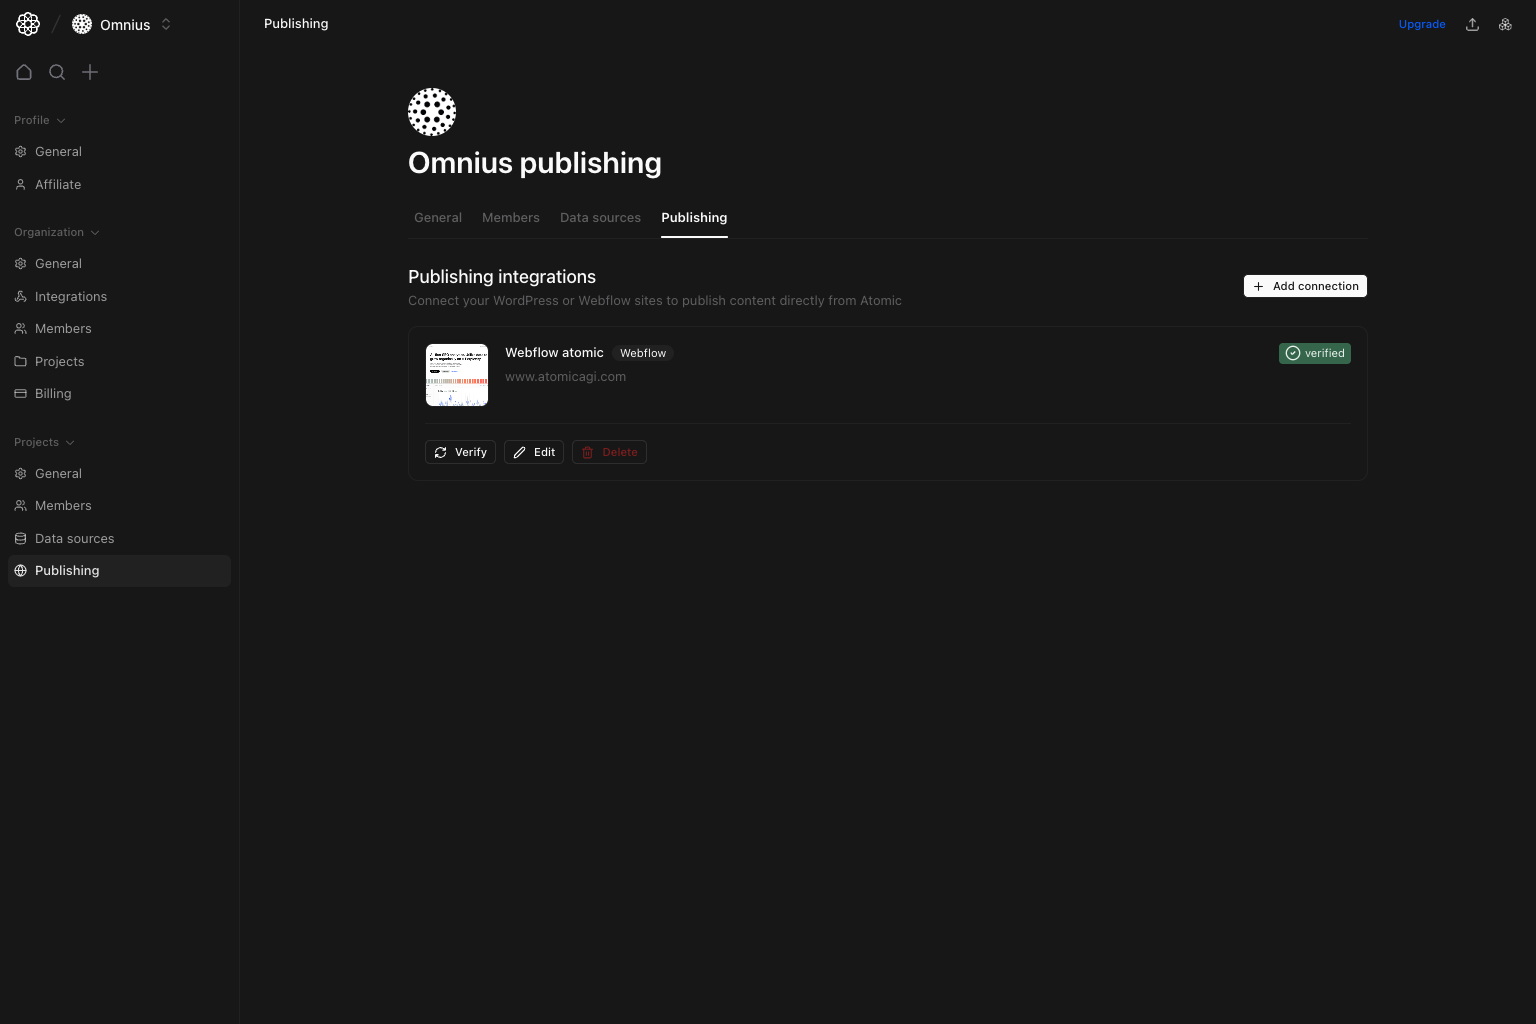
- Which publishing connections are active and verified?
- How do I add a new WordPress or Webflow connection?
- How do I verify, edit, or remove an existing connection?
Before you use this page
- In the app, open Project settings and select
Publishing. - Gather platform credentials before creating a connection.
- Decide whether this should be WordPress or Webflow.
What this page controls
- Publishing connection list and verification status.
- Add/edit/delete lifecycle for connections.
- Platform-specific setup: WordPress: URL, username, application password. Webflow: API token verification, site selection, collection selection.
How to use this page
Add connection with platform-specific flow
UseAdd connection, select platform, and complete required credentials. Webflow setup is step-based and requires token verification before site/collection selection.
Your task: Complete setup in this order:
- Verify credentials/token.
- Select destination (site + collection for Webflow).
- Save connection.
- Run
Verifybefore production publishing.
Verify before publishing at scale
RunVerify on active connections after credential changes.
Keep only active targets
Delete stale connections to avoid publishing mistakes.Quick weekly checklist
- Confirm key connections show verified state.
- Re-verify after password/token rotations.
- Remove unused destinations.
Keep in mind
- Publishing availability depends on credential health.
- Webflow requires both site and collection mapping.